
So let's start from the beginning...
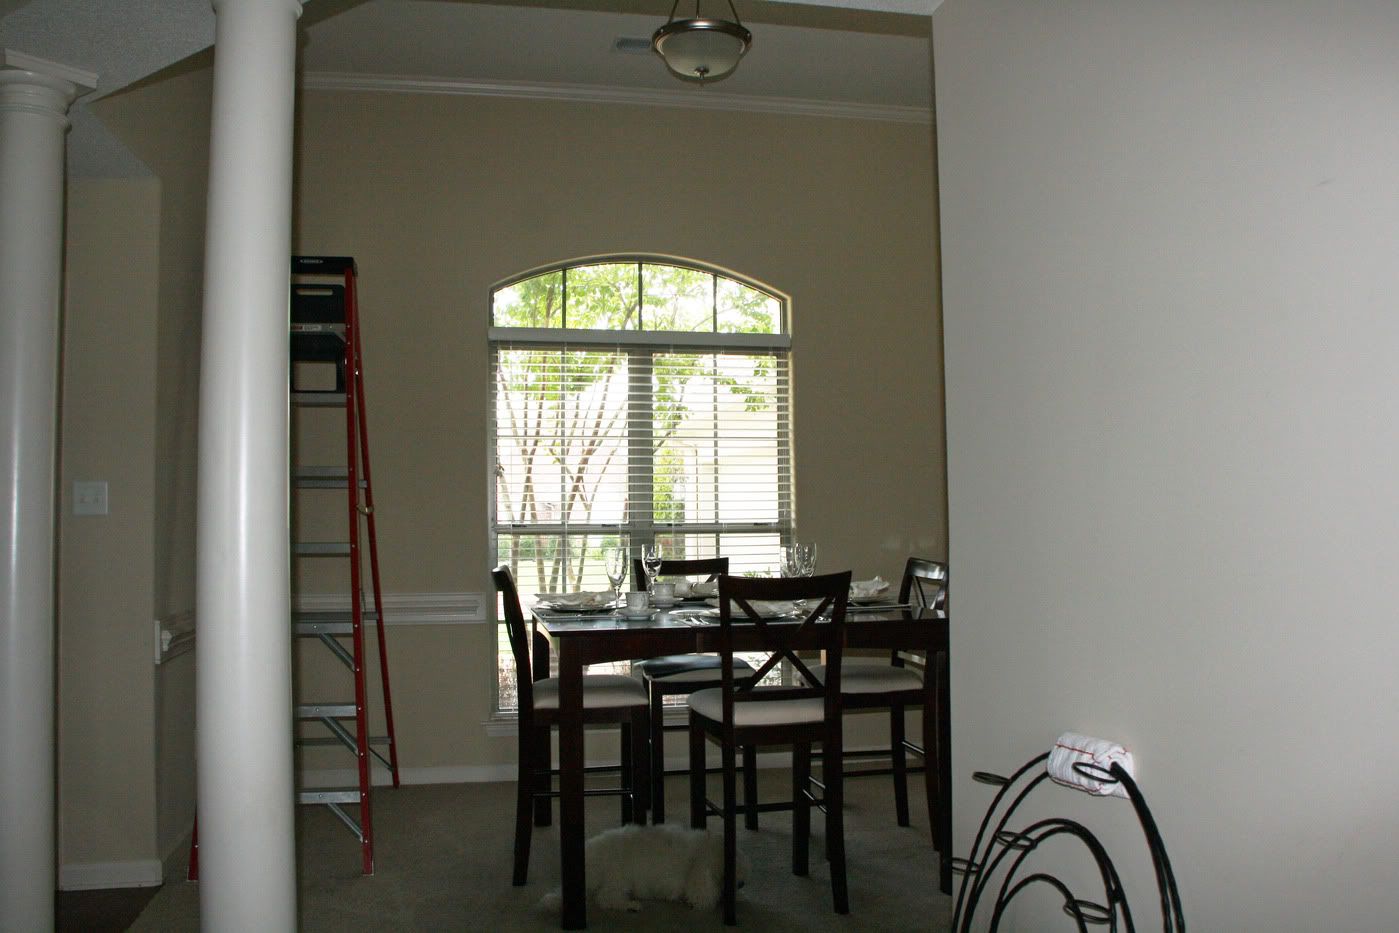
Here's a pic of the the dining room BEFORE:
with the bare walls, counter height table DH had when we married, and the too short for the room light
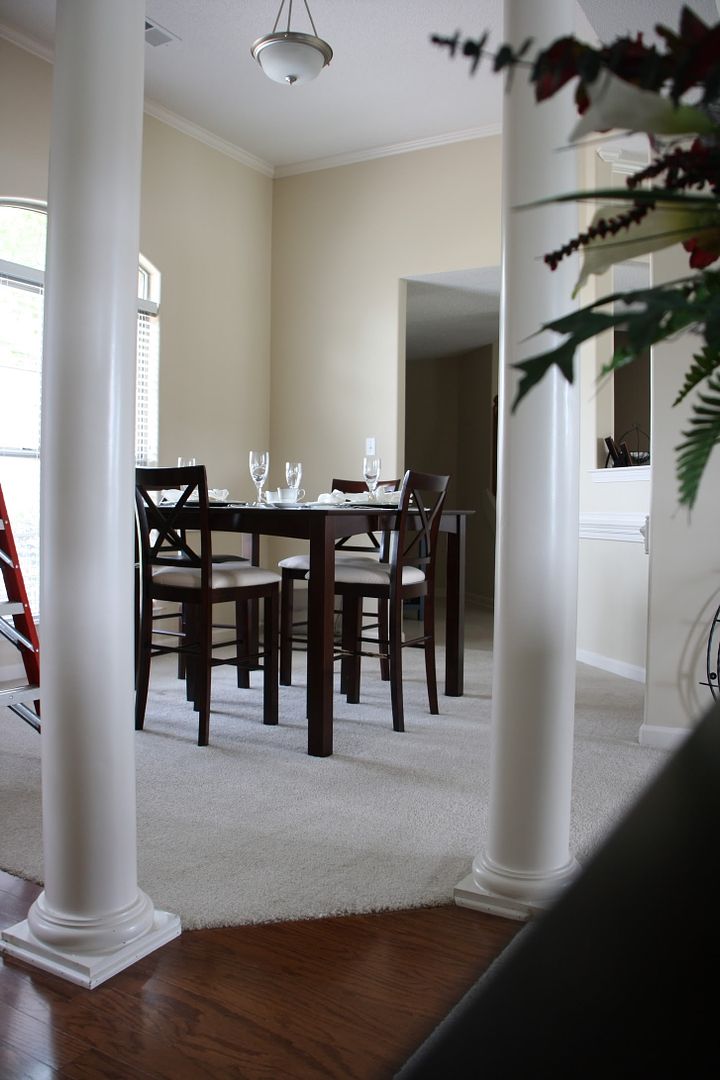
Here's another picture of the bare walls.

I really really like the look of wainscotting on walls, but I didn't think I'd be able to pull that off. Mainly because we have all bull nose corners and bull nose corners around that giant window, so it would take TONS of work to do that. And it was probably beyond my carpentry skills (or should I say lack of carpentry skills) to do so. So instead I decided to fake it out using paint and molding.
Here's the steps we took do to it:
#1. Measured each portion of wall below the chair rail. Then I decided how big I wanted them to be. I decided I wanted each rectangle to be 3 inches smaller on all sides than the portion of wall it was going on, so here's how the math worked.
Wall= 36 inches wide by 27 inches tall
Rectangle= 30 inches wide by 21 inches tall
Then I added up all the Rectangles measurements to decide how much molding I would need.
#2. I bought supplies from Lowes. Here's what I used and the appx. cost.
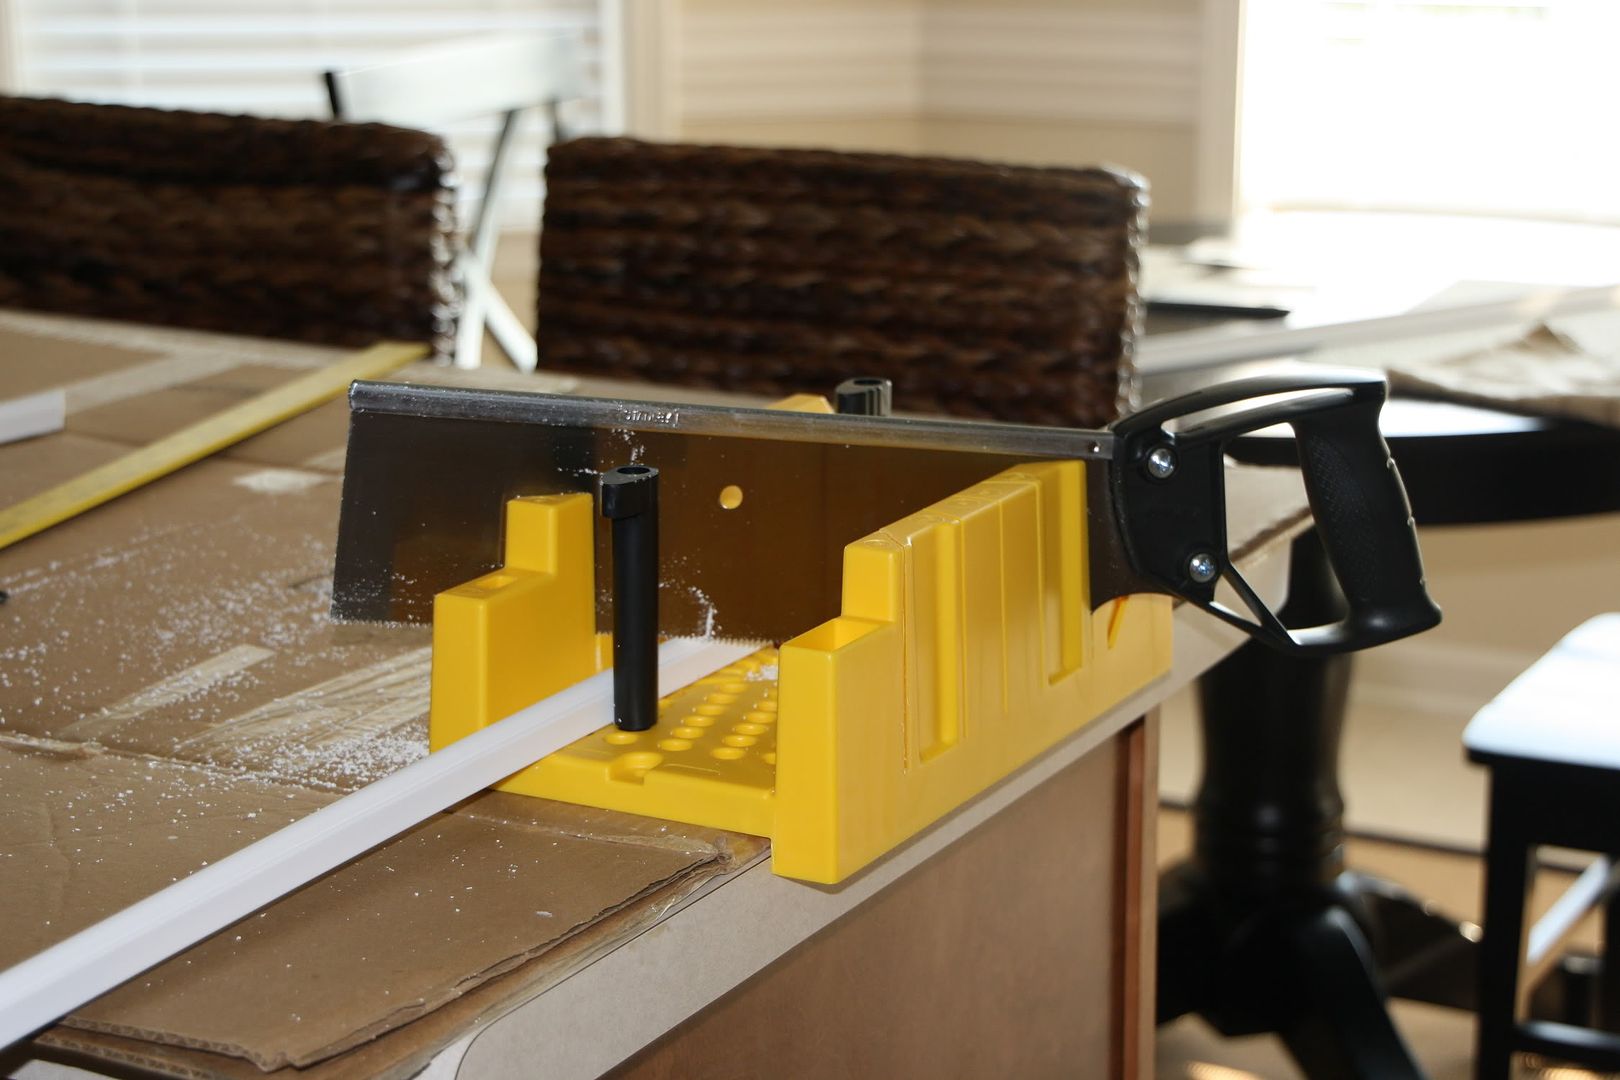
Stanley Hand Miter Saw and Miter Box - $10 total
(8) 8 feet lengths of plastic molding- $4 each
Gallon of White Semi Gloss Valspar Paint- $20
Box of Finishing Nails- $4
I also used (but already had on hand) a hammer, paint roller and brush,a measuring tape, and painters tape.
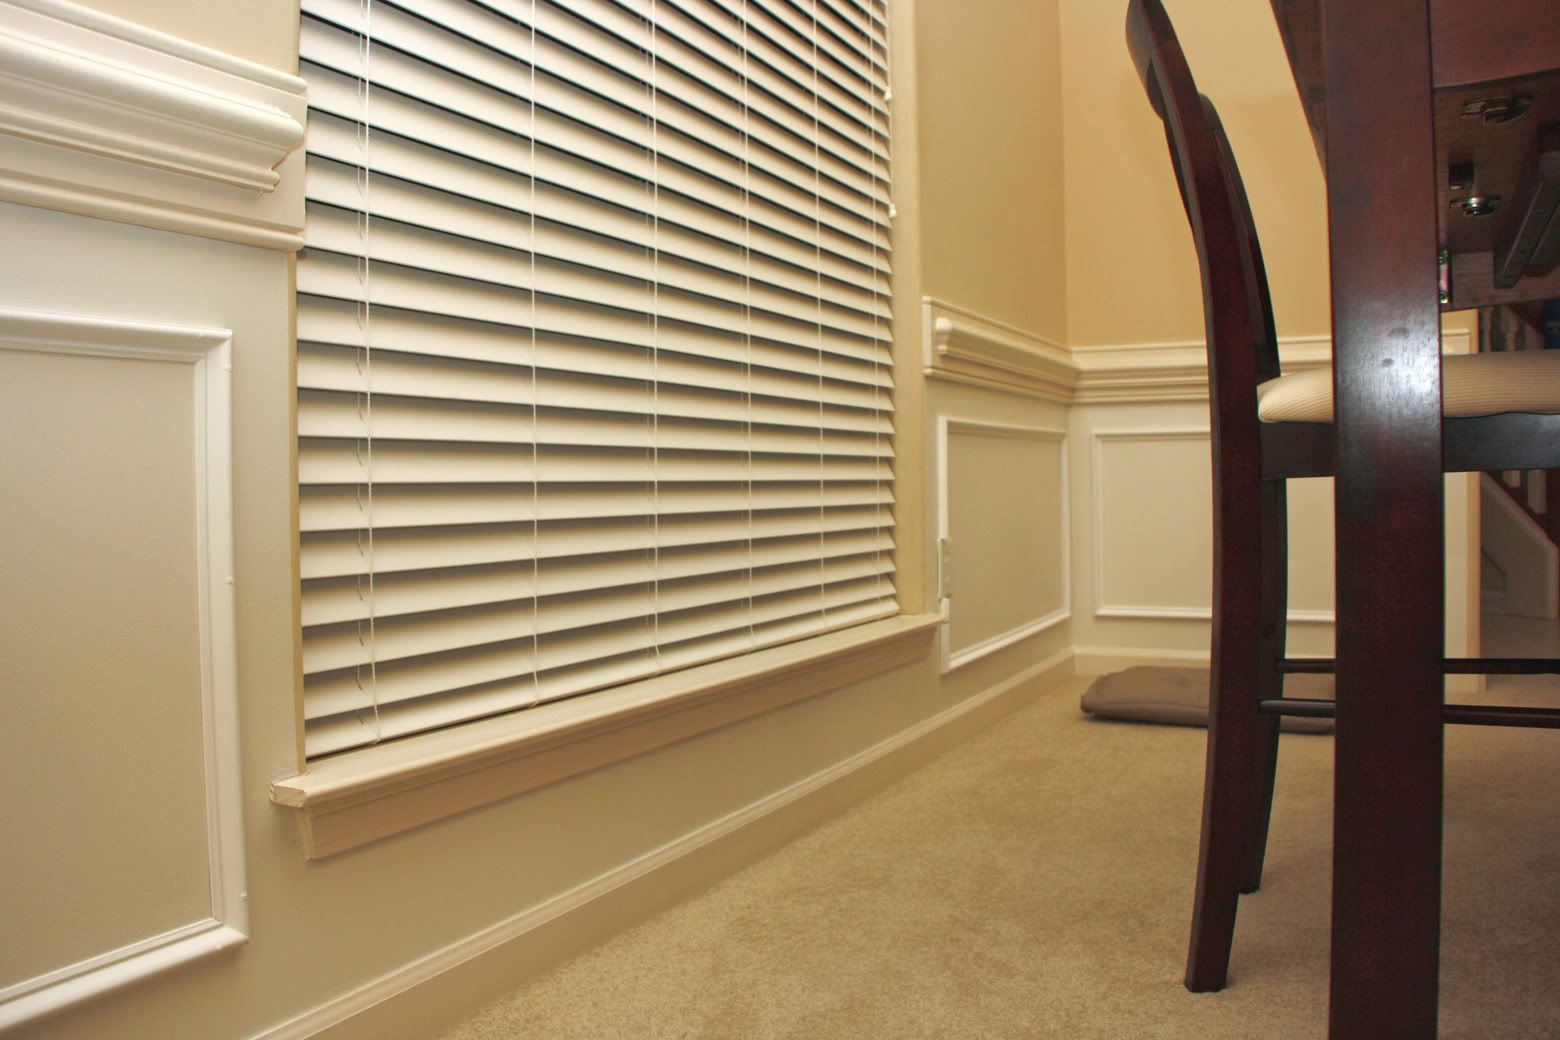
#3. I used the painters tape to create a straight line along the edge of each bull nose corner from my chair rail to the base molding. I then used a paint brush to paint all the corners, spaces directly under the chair rail, and edges white. Then I used the paint roller to paint the rest of the wall below the chair rail white. Painting from the chair rail down and using clean lines on the bull nose corners gives the illusion that there's white wood on the walls.
#4. Using the measurements from Step #1 I cut the plastic molding. I just measured each piece of molding using a tape measure and marked with a pencil where to cut. Then use the miter box to cut each piece at a 45 degree angle pointing inward. (If this doesn't make sense then look at a picture frame. You'll see that the corners are each cut at a 45 degree angle that all slope to the middle of the frame.) It was super easy to cut even with the $10 hand saw. Also the miter box that came with the saw has pegs to hold your molding down tight while you cut. I honestly cut these in my kitchen on the island.

#5. After I had all my pieces cut, I started getting them ready to put on the walls. I measured 3 inches from the top and side of each section of wall and then held the piece of molding in place with painters tape. (I folded the painters tape so it acted like double stick tape so you couldnt see it when I stepped back to check it out before nailing...run on sentence? yes...who care's its my blog..heehee) I then would do the each side of the rectangle like that until the whole "rectangle" was on the wall. Then I used finishing nails to carefully nail them in place. I left the painters tape underneath them because it helped hold them in place as I nailed and you can't see it anyhow.
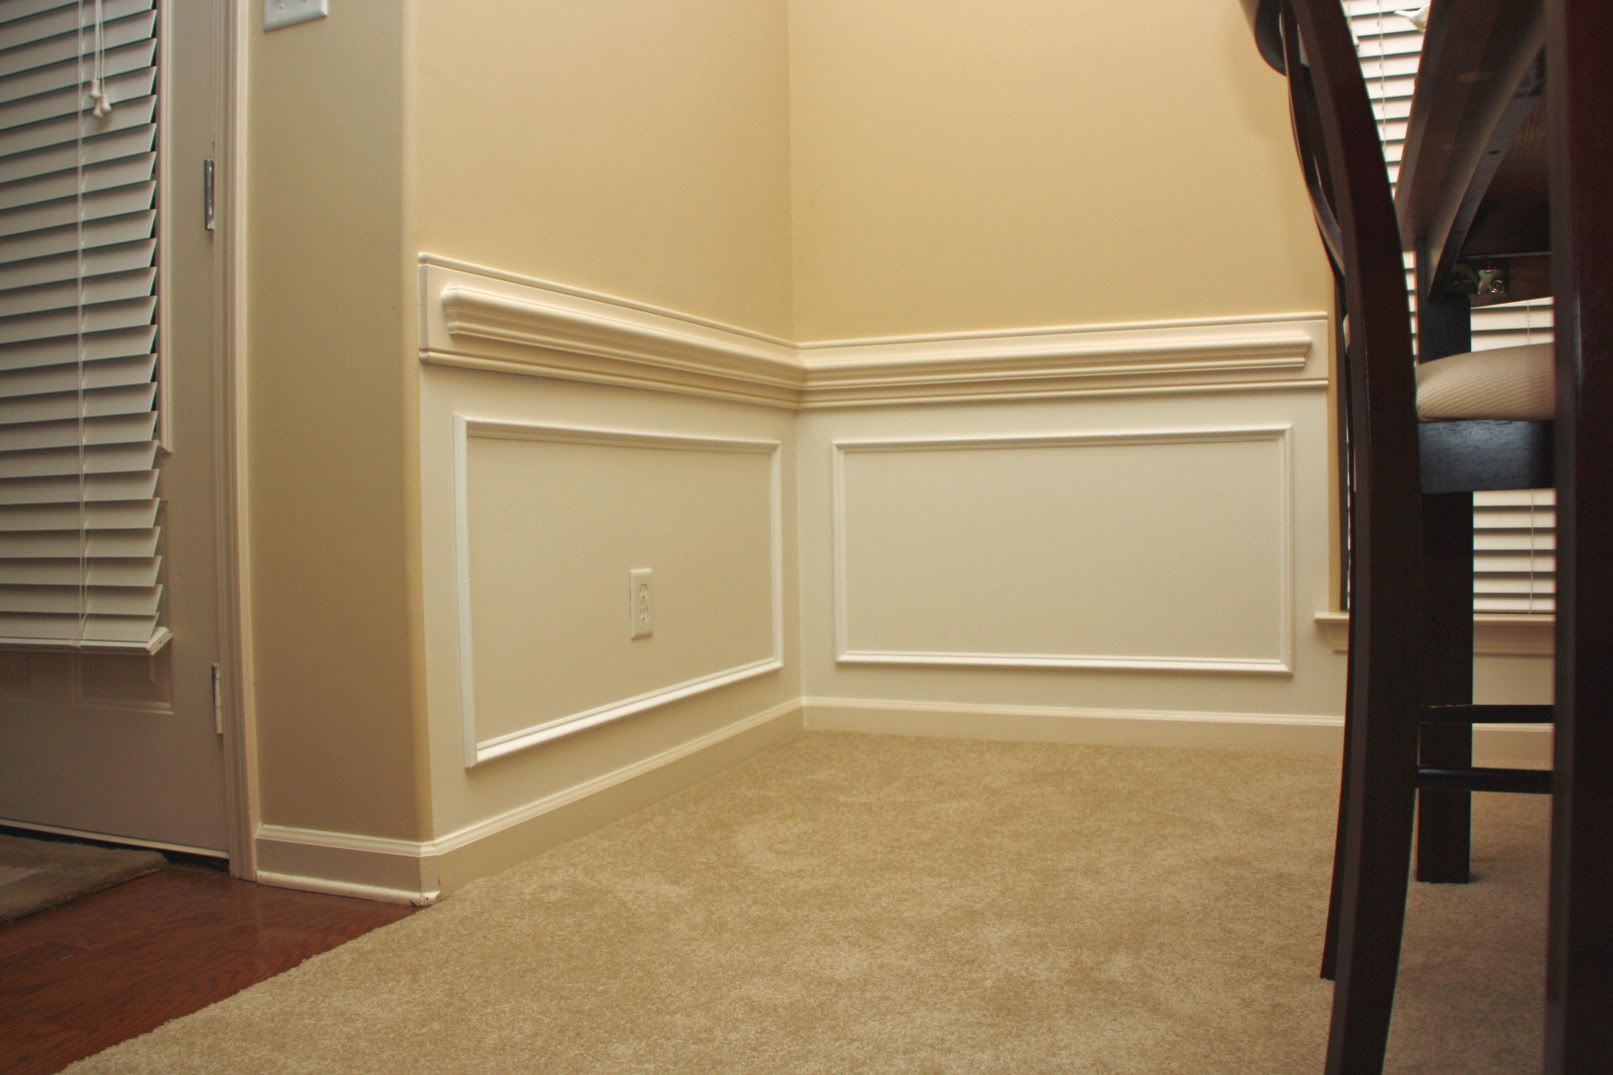
Here's the finished product.
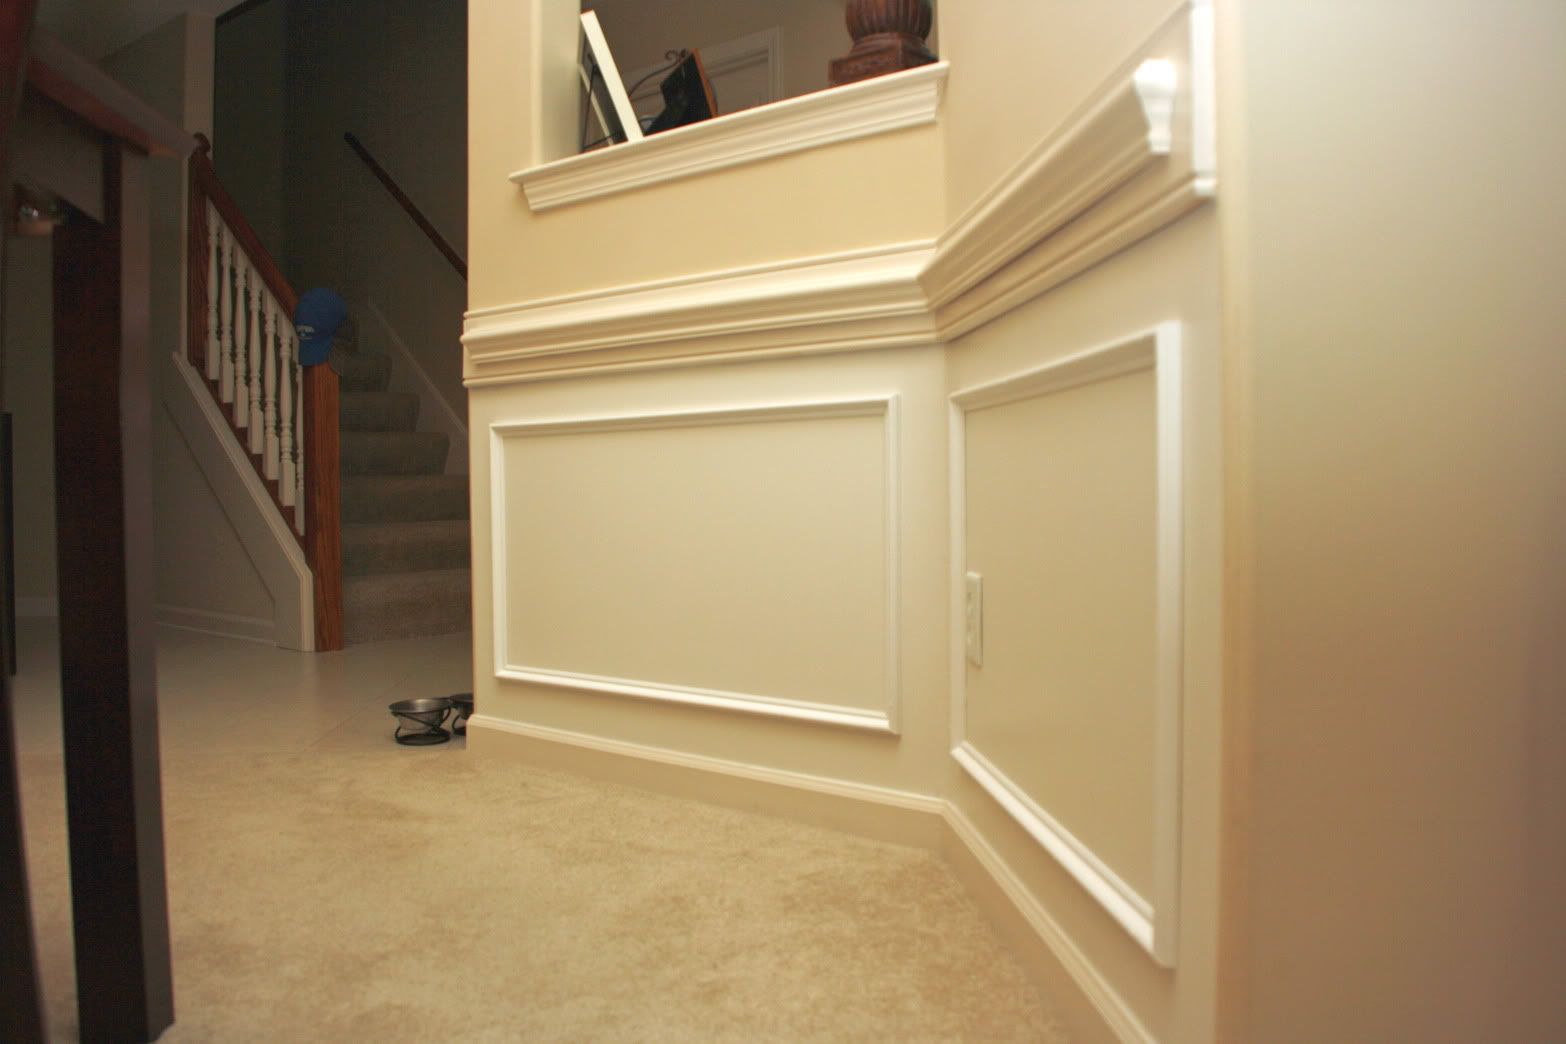
so one more time here's what it looks like from the start
(looks like we're just moving in, not having been here for 5 years!)
BEFORE
BEFORE
and now here's the room with the new lighting, new artwork, and new fake wainscoting.
AFTER
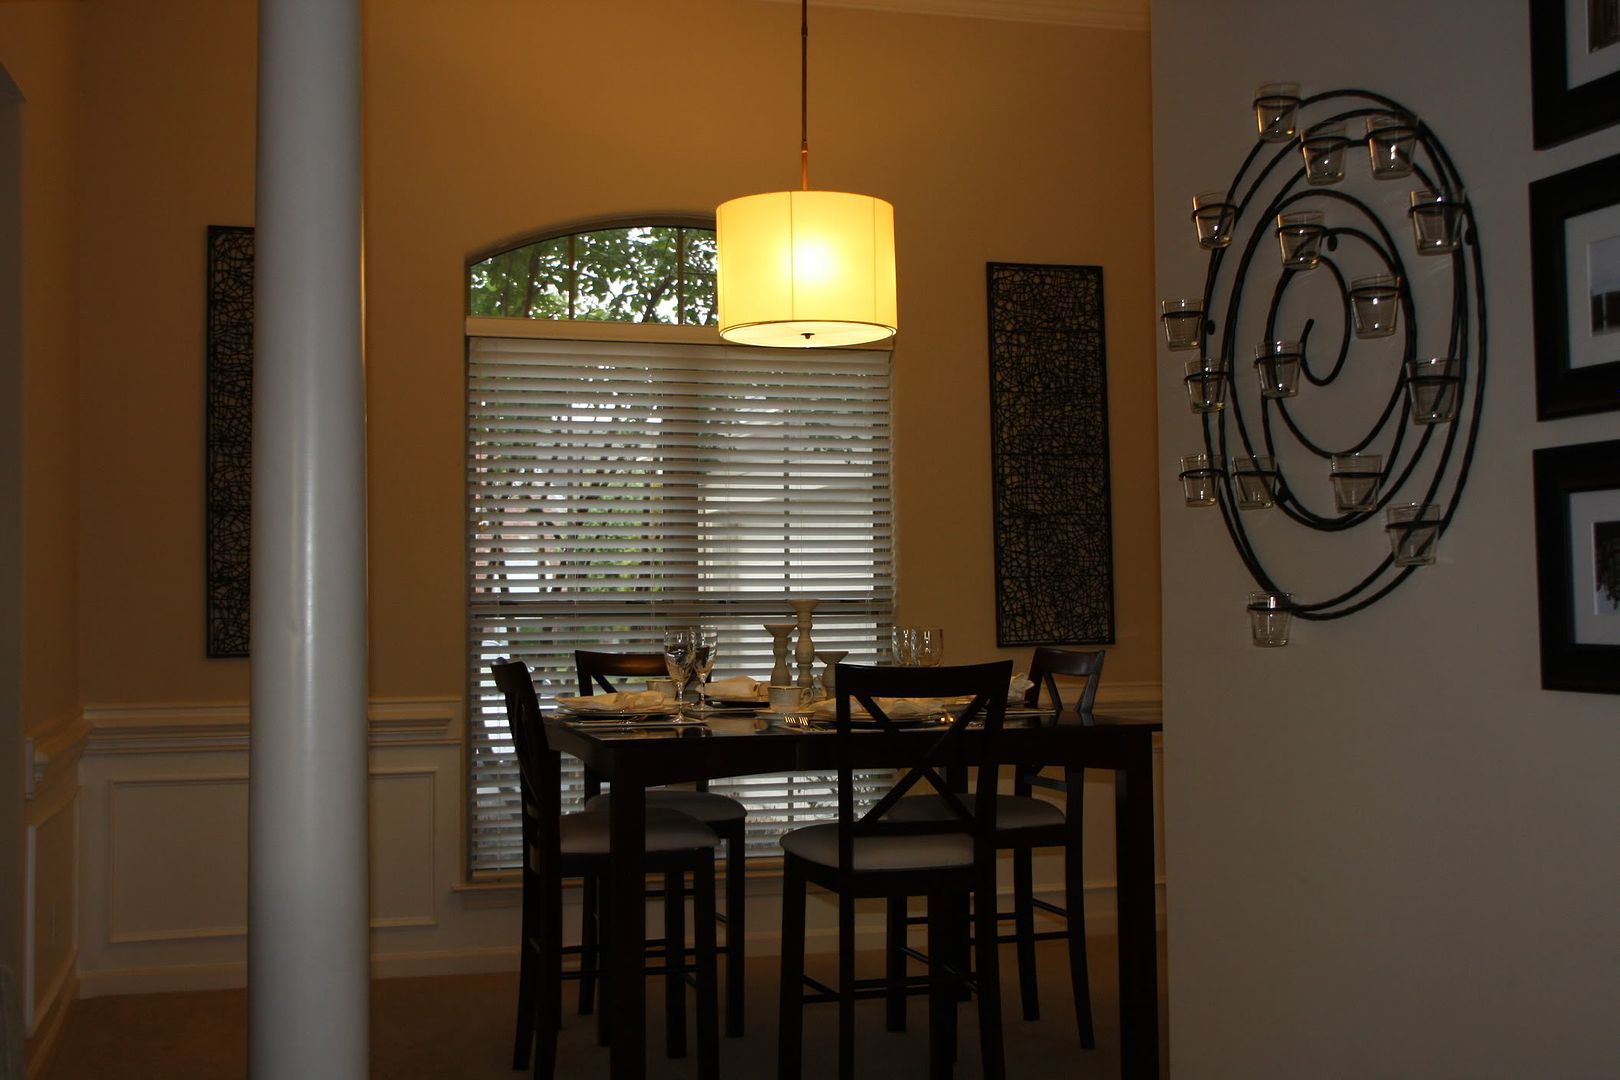
I LOVE LOVE LOVE the look. Plus at only $70 for everything I needed for the fake wainscoting, I think it's a GREAT, cheap upgrade to the room. Overall, we spent about $250 for the upgrades between this picture and the one above it...I think it looks so classy now. I need to get better pictures on a sunnier day and post them because these just don't do it justice.
Anyone else got any craft projects going on?
I love linky parties. They are a great way to get inspired!
Here's what linky parties I've joined with this post:
The Color White Party @

I love linky parties. They are a great way to get inspired!
Here's what linky parties I've joined with this post:
The Color White Party @
LINKY PARTIES:
Hope Studios- Tutorial Tuesday
Someday Crafts- Whatever Goes Wednesdays
Momnivores- Creative Juice Thursdays
By Stephanie Lynn- Sunday Showcase
Someday Crafts- Whatever Goes Wednesdays
Momnivores- Creative Juice Thursdays
By Stephanie Lynn- Sunday Showcase
Affiliate Links


Looks beautiful. I was just thinking of how I could do something with molding in my bedroom. We rent, so I don't want to invest too much, something like this on one feature wall would be very nice. You are right, link parties are very inspiring!
ReplyDeleteThis looks great! We did faux wainscoting in our dining room, too. I really like your technique of taping then nailing! We ended up just using wood glue and no nails, but it was tricky to get it to stay put while the glue dried. I just came across your blog through CSI Project, and I'm your newest follower :)
ReplyDeleteLove it! I am tackling some molding projects as well, yay for the miter box haha!
ReplyDelete$70??? for real???
ReplyDeleteI need to do this, because the semi-gloss is SOOO much more kid-proof.
I really think this will help resale as well.
I'd love if you could link up to Creative Juice Thursdays...my readers would adore this project...
<3
nicolette @
http://momnivoresdilemma.blogspot.com/2011/01/creative-juice-thursday-6-features-and.html
It looks awesome. I totally want to do this on my stairs, but I'm nervous I'll mess it up! I love your light fixture as well and the columns are wonderful! Great job!
ReplyDeleteHope you can join my "our nest" sign giveaway! Ends tonight. http://alittleknickknack.blogspot.com/2011/01/giveaway-with-shinar-mountain-designs.html
Your dining room looks great! Love the drum shade fixture!
ReplyDelete~Amanda
I'm gonna hop on the bandwagon here and say I would love to do this same thing to my dining room. I have NO carpentry skills either but I do have hubby who could tackle an assignment! (: I am painting my entire dining room soon anyway, so fake wainscotting is on the list of ideas. Love your candle sconce holder and new lighting, too!
ReplyDeleteThis is so inspiring...
ReplyDeleteThanks so much for linking up to Creative Juice Thursday!
I LOVE your dining room! So classy! Great blog with lots of great ideas!
ReplyDeleteLove your room! We too have rounded doorways and love the bullnose rounded edges of your chair rail. How did you achieve this look?
ReplyDeleteThank you for give very good info. Your web is so cool am impressed by the information that you have on this blog. It shows how well you understand this subject. Bookmarked this page, will come back for more. I decorate my dinning room's wall by Floating canvas prints by canvasdesign.co.uk and I an very much satisfied.
ReplyDelete